How to use MS Word Repair Tool
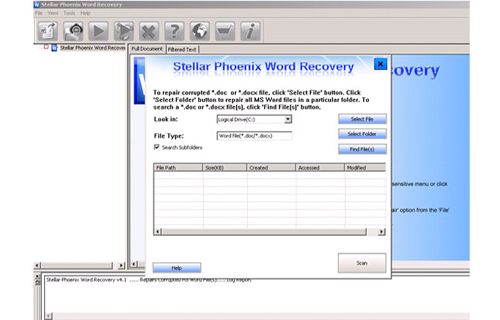
Step 1. Firstly download and launch the ms word repair tool and then select the single file by clicking the “Select File” option or the folder that contains the entire word file then click on the “Select Folder” then find the file and click on the “Find File” option.
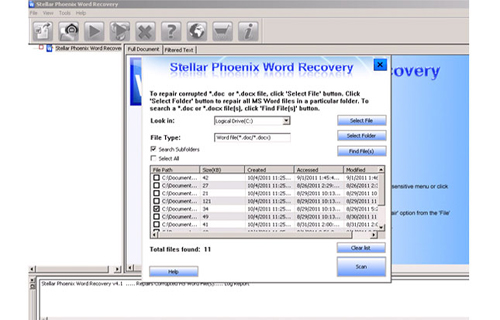
Step 2. A list of selected files will be displayed. Here select the Word file by using the checkbox that you want to repair then select all the files by clicking on “Select All” option. Then click on the “Scan” button.
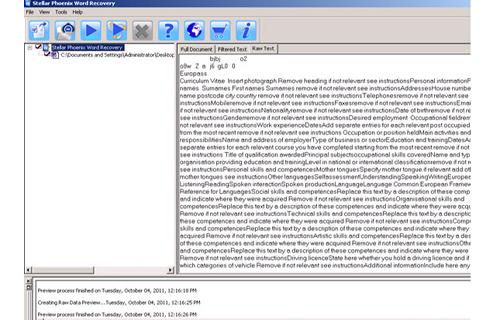
Step 3. Here you can see the all the preview of the scanned file by clicking on the file on the “Full document and Filtered text” formats by on the tab that is present on the middle pane of the window.
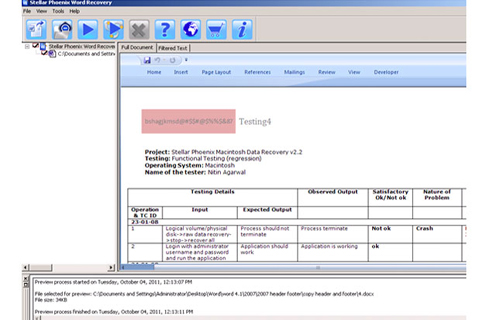
Step 4. It the word file or .doc file is scanned then a preview will be available in “Raw text” that is not available for .docx file formats.
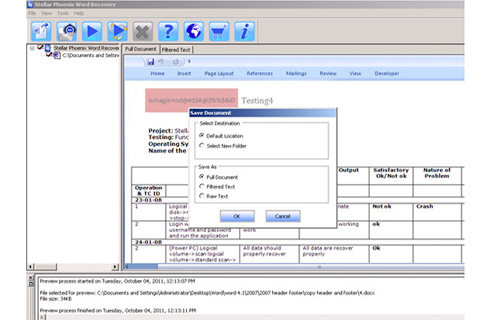
Step 5. After this repair the file by clicking on the “Start Repair” option. Then select the option for saving your file from “Save Document” dialog box and click on “OK” button.